


When first getting started with AWS, there’s a number of traps you can fall in to. There’s a number of simple steps you can take to protect yourself both from a security and cost perspective.
When first learning AWS, it can be a really exciting time. But before you get started tinkering away, there’s a number of things you should do to protect your account.
In this post, I’m going to share with you my Top 5 Tips When First Getting Started With AWS.
So let’s get into it.
Tip # 1 – Enable Billing Alerts
Surprise bills are one of the scariest things about using AWS. Take this poor sap who accidentally provisioned a db.m5.24xlarge database instance when tinkering with AWS Relational Database Service (RDS). This thing costs $8.20 per hour and resulted in a $60,000 bill after being left on for months.
I definitely don’t want this to happen to you – and it turns out there’s an easy way to prevent it with proactive billing alerts.
AWS has a comprehensive billing ecosystem that lets you understand where the costs on your monthly bills are coming from. You can enable billing alerts which allow you to set up a Cloudwatch Alarm based on your spending in AWS.

Using Cloudwatch Alarms, you can easily set up a billing alert alarm if your bill exceeds a configurable threshold. Since I have a deliberate ‘testing’ account that I try to avoid bills on, I set mine up to send me a reminder notification if I ever exceed $5.00 in cost. This helps you become quickly aware of any infrastructure you provision, or accidentally leave on, so that you can quickly remedy it.
One thing to point out as well is that in my experience, AWS is pretty understanding when it comes to surprise bills. If you do end up getting charged accidentally, you can file a support ticket and get an AWS representative to take a look at your case. They usually give you one ‘free pass’ and will reverse charges if its your first time making an error. However, after your first strike, you really need to be careful going forward.
Take it from me and set up billing alerts right away. It takes less than 5 minutes and protects you from the scariest part of AWS – surprise bills.
I have a youtube video that walks you through how to set up billing alerts. You can check it out here for a step by step tutorial.
Tip #2 – Ditch the Root Account
After first registering for your AWS account, you start out with what is called the Root Account. This account has complete access to all AWS services, Users, and a bunch of other ‘special’ permissions on your account. The Root Account is kind of like the top level node in a permissions hierarchy, it has the ability to control everything in the account including revoking access for compromised users.
When first signing up with AWS, you sign in with your root account. This is done by using your registration email and secure password that you created.
After first logging in to your account, the second thing you should do (after setting up your billing alert) is to create a User Account in the Identity and Access Management (IAM) section. IAM is the security access control service of AWS that lets you create users and associate fine grain (or broad) permissions to them.
You may also enjoy this article on Identity and Access Management
The best practice here is to create a User Account that has very liberal permissions – I usually like to set up mine with Administrator Access on the account so I don’t get hit with any pesky Access Denied errors when tinkering with a service.
After setting up your user account, you should never really access your root account unless you absolutely need to (i.e. revoking a user’s permissions, or performing one of the few actions that are only possible via the root account such as viewing billing information).
From this point forward, you really should lock away your root account credentials and use your IAM User Account for all day to day activities.
I have a YouTube video on setting up a User Account that you can watch here. Its step by step and guides you through the process from start to finish.
Tip #3 – Enable Multi Factor Authentication (MFA)
Continuing our theme of securing access to your account, one of the next things to do after creating your IAM User is to enable Multi Factor Authentication, or MFA.
MFA allows you to add an extra layer of protection to your account. After logging in with your username and password, MFA allows you to add a secondary authentication process – usually using a cell phone or dedicated MFA device.
Using an Android or iOS phone, users can leverage Google Authenticator and link it to their AWS User Account. This way, upon login, you’ll need to enter the code present on the Google Authenticator app into the AWS login prompt. Only after successful authentication with both your password and your digital code will you be able to log in successfully.

MFA is an additional shield that helps protect your account if someone gets access to your username and password. Setting up and using MFA right off the bat is a best practice you should definitely consider when using AWS.
Similarly, I have a step by step video here showing you how to setup MFA for your root account.
Tip #4 – Never Share Programmatic Access Credentials, ESPECIALLY IN SOURCE CONTROL
There’s a whole bunch of ways to interact with AWS – so far, we’ve mostly been focused on protecting your login credentials which govern access to the AWS console.There is also another method to interact with AWS which is much more common – using programmatic access.
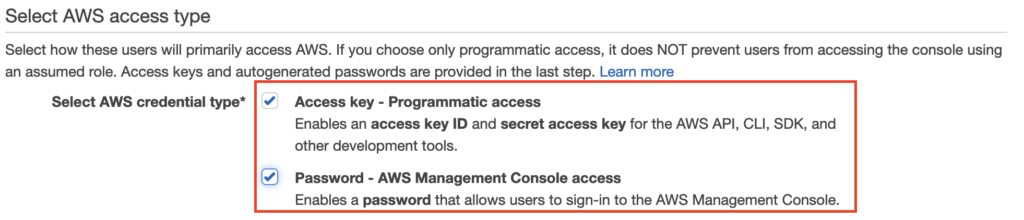
When creating an IAM user, you have the option of enabling programmatic access with this user. Doing so tells AWS to generate what are called a access key and secret access key. See the example image below.
Using these two keys, you can programmatically interact with AWS provided your account has the correct level of IAM permissions for the service you’re interacting with.
You should NEVER share these access credentials, either in code or any other method. They are literally the keys to your AWS account.
You should also NEVER hard code these values in your application code. Instead, you should set environment variables and refer to your keys that way. I’ve seen too many folks accidentally commit their access key and secret access key to Github and have problems with their account being compromised – don’t let this happen to you.
Tip #5 – Understand What’s Included in Free Tier
AWS Free Tier is an awesome feature of AWS that lets you play with a whole bunch of AWS services for free (within limits). Normally, some of these services would cost you money to spin up and experiment with. However, AWS knows that a lot of folks just want to test things out before committing to using their infrastructure in the long term.
For example, Free Tier includes 5GB of free storage in Amazon S3 and 750 hours of RDS using a db.t2.micro instance. Free tier covers some of the most popular AWS services and lets you give them a spin to see how they work.
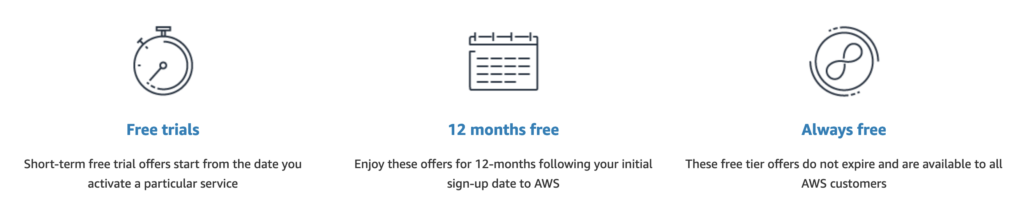
One thing to note is that Free Tier comes in two flavours: 12 months Free and Permanently Free. When initially creating your account, you automatically will not be charged if you provision infrastructure qualifying under the 12 months free mode. Afterwards, you’ll start getting charged.
There’s also a notion of permanently free – this means certain services allow you to use them (up to a certain level) and will be permanently free. For example. with DynamoDB, you get up to 25GB of storage permanently free. For Lambda, your first 1 million requests are always free.
A trap folks usually fall in to is either: 1) They forget when they signed up for their account, and use that account assuming it still qualifies for free tier, or 2) They mistakenly assume something is within free tier when its really not. To address 1, just set a Google Calendar notification to remind yourself in 1 year out. You can always create a new account to reset yourself. For 2, always remember to read the pricing structure of any service you’re interacting with. Surprise bills aren’t good for anyone, and you need to be careful to avoid any unexpected surprises.
To learn more about whats included in the free tier, refer to the AWS Documentation here.
Closing Thoughts
In this article, I’ve shared with you my Top 5 tips for protecting your AWS Account when initially starting out on AWS. These are curated tips from some of the traps I’ve personally fallen in to, and other best practices as suggested by AWS.


